

Canning is a relatively simple and clean process if you’ve done it a few times, but it can be intimidating if you haven’t had the chance to do it before. Here are some tips and tricks that can help you if you’re just getting started canning and don’t know the basics!
Before Canning
- ALWAYS follow ALL of the rules of your canning recipe.
Canning is fun and simple, but don’t play around with the rules and regulations given to you. Following each step and recommendation is the best way to keep safe and to can effectively.
- Try water bath canning before pressure canning
Water bath canning is easier, cheaper, and safer than pressure canning. It could potentially be done with tools that you already have at home like a big stock pot or tongs. Either way, you’ll be glad for having the experience water bath canning gives you before stepping up to the next level.
- Don’t use a glass stovetop for canning
The whole canning process involves a lot of heat, which may be more than your glass stovetop can handle. It could crack or break under the stress of the high temperatures required to can safely. Use an electric coil or propane stovetop. If you don’t have access to either, consider a propane cooker that can reach the temperatures necessary. (These have other uses too, like dutch oven cooking).
Water Bath or Pressure Canning
- Make sure you know the pH levels of the food you are canning
The acidity of your food is extremely important to consider. If the food you are canning is not acidic and it’s not cooked at high enough temperatures, it could lead to botulism growth. Botulism is extremely dangerous, but if you consider what you’re canning, it can be avoided. A pH lower than 4.6 is acidic – good for water bath canning. Anything higher needs a pressure canner.
- Fruits, jams, pickles, and salsas are safe to water bath can
Fruits are high in acid, so they can be water bath canned safely. No need to purchase a pressure canner for berries, peaches, apples, and the like. My family regularly makes jam this way.
- Vegetables and meats require a pressure canner
Neither vegetables nor meats are acidic enough to prevent botulism, so you’ll need to cook them at higher temperatures than what a water bath canner would allow. Pressure canners can reach the necessary heat levels for string beans, corn, and peas.
Jars
- Jars can be reused multiple times for canning
One of the nice things about canning is that most of the costs are only for your first go-around. Jars contribute to this – they can be reused over and over for canning or anything else you can imagine.
- Use jars with screw-on/ sealing lids
Modern mason jars like Ball or Kerr brand jars are excellent for canning multiple times. Not all jars are created equal, however. You need to use jars that screw and seal in order to can properly.
- Sterilize and check jars before reuse
Make sure that you thoroughly clean every jar before you can with it. Check each for chips, cracks, or any other damage. We don’t want any air getting in or contents leaking out. It’s best to keep the jars warm until you fill them with the canning contents.
Lids
- Don’t reuse lids
Can with a jar as often as you like, but the lids should only be used once, then discarded. Their sealing mechanism works just the one time. Thankfully, you can purchase a lot for cheap. Rims can also be reused. Just not the top lid part.
- Lids don’t need to be preheated before use
Lids needed to be preheated before placement on the jar in order for it to seal, but modern lids don’t have such a requirement, so don’t worry about that.
- The lid will pop up if the seal is broken
If you go into your pantry one day to grab a jar of peaches and you discover that the lid has popped up, then don’t eat the peaches. It’s likely that air has gotten in and your food has been spoiled. If it popped because you opened it, however, then that is fine.
Tools
- A stock pot is a fine alternative to a water bath canner
If you’re just getting into canning and you don’t want to purchase a whole canning set right off, a stock pot that is big enough to hold the jars could suffice.
- Use a rack in your pot or canner
It isn’t good to let the jars sit on the bottom of the pot during the canning process. Make sure to have a rack for them to sit on so that they do not crack or break.
- Use a jar lifter or tongs to move jars
The canning process is a hot one. Tongs are an okay tool to use, but optimally you should have a jar lifter for moving the cans around so that you don’t burn yourself. Luckily, they’re not too expensive.
- A funnel keeps the process clean
While not necessary, a funnel certainly helps to keep things tidy while you are transferring your food into the jars. They can come in two standard sizes to fit the jar mouths.
During the Canning Process
- Make sure jars are warm before filling them with ingredients
Pre-heating the jars before putting food in them will not only sterilize the jars, but it will also prevent the glass from breaking. Glass is susceptible to shattering when there are sudden, drastic changes in temperature.
- Leave a little headspace when filling jars – don’t overfill
The food in the jar will expand during the canning process, so make sure that you do not fill the jar all the way to the top. For fruits/tomatoes and pickles, 1/2 of an inch is enough. Jams and jellies will be fine with 1/4 of an inch of space. Vegetables and meats will need at least 1 inch or more.
- Use a spatula or wand tool to remove bubbles
Bubbles may form when you are filling the jars, so prepare to remove them with a little tool.
- Clean the jars’ rims before putting on lids
In order for the jars to seal properly, you will need to clean them to get any residue that may have been left behind while filling.
- In the canner, cover the jars completely with water
You don’t want the can to be exposed while it is boiling, so fill the canner with enough water to cover the cans and then some.
- Don’t let the jars touch
Again, this is to prevent cracking and shattering. Glass gets to be funny when you’re playing with heat, so just be careful.
After Canning
- Allow the jars to cool for 12 to 24 hours
Once you’ve finished cooking the jars and you have removed them from the canner, let the jars sit and cool for at least half of a day. (Don’t let them touch).
- The jars will pop if sealing right
If you hear popping noises while the jars are cooling, then do not worry. It is part of their sealing process.
- Check the lids after cooling
After 12-24 hours have passed, push on each lid’s center to test if it has sealed properly. If it has, great! If not, throw it in the fridge and eat the canned food within a week or two.
- Store in a cool, dry place
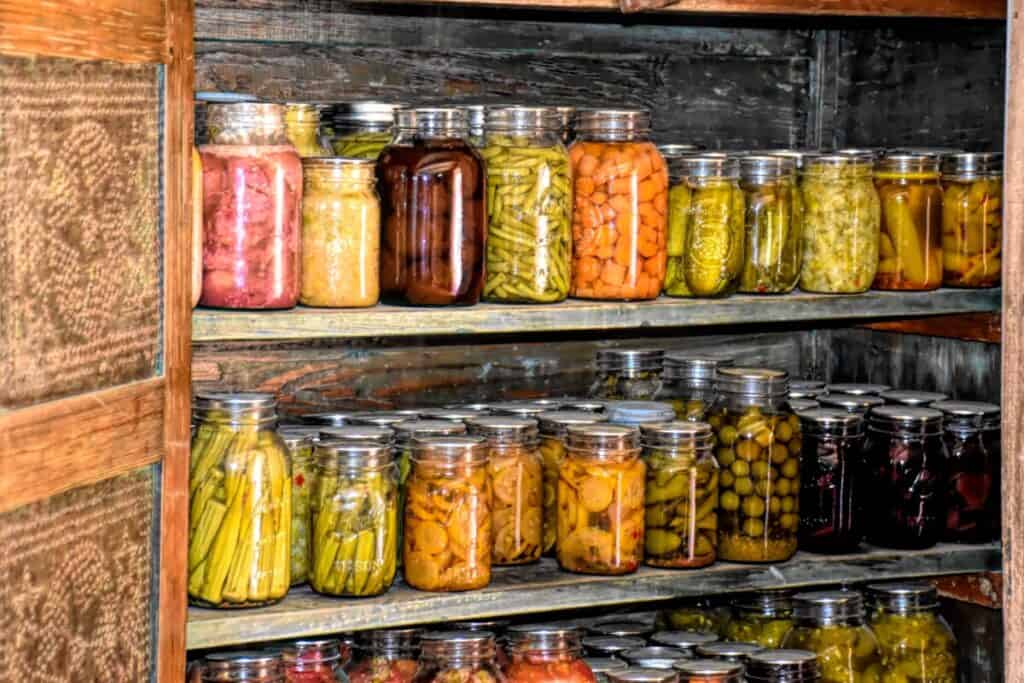
You’re done! Now you can put all your freshly canned foods into a room that is nice, cool, and dry. A storage room in your basement would be ideal, but your pantry is okay, too. Your preserved food should be good for at least a year from now.
- If it looks or smells funny, don’t eat it
When you go down to grab a can to snack on, if it looks weird, smells off, or has crack in the glass, just throw it away. It is far better to be safe and healthy than to eat it and regret it. Just discard it and try again next time.
Conclusion
Canning really is fun once you get the hang of it! Keeping all this advice in mind will streamline the process and help you be more comfortable during your first time canning. Just remember to follow the rules, be safe, be careful, but have fun!
Check out another article about canning! – Is Canning Really Worth the Money? – Homestead Nation